
10 May Rice balls and Banana Payasam
Here is a delicious and different payasam or kheer. This special payasam is my all time favourite one and obviously my mom's recipe. I just love the rice balls and banana payasam made in coconut milk. It is not really difficult to make this payasam, except for making the balls, which is a bit time consuming and extracting the coconut milk.
Make sure you keep all the ingredients ready. Extract the coconut milk in three different consistency - as mentioned above in the ingredients. Thick, thin and very thin. You can add enough water to make coconut milk.
Cut the bananas into small pieces and keep aside.
Now, on how to make the rice balls. Take the rice flour in a bowl. Boil 2 cups of water with oil and salt. Pour the boiling water into the rice flour and mix well. Do not use all the water together. You can pour more than half and then little by little to make it into a soft dough. Make sure that you use boiling water to make the dough from the rice flour. Do not keep the water to cool. If the water is cool you will not get the desired texture and taste for the rice balls. You have to make small balls with the rice flour and keep aside. You can apply a little oil on your palms so that the balls do not stick to your hands.
To make the payasam or kheer, bring the third coconut milk to a boil in a heavy bottomed vessel. When it starts boiling, put in the rice balls carefully. Cover and let it boil for 2 minutes. Then add in the grated jaggery to this. Mix well. Cover and cook till the rice balls are more than half cooked.
After that add in the chopped bananas and the second coconut milk. Cover and cook till the bananas are properly cooked. Make sure both the banana and the rice balls are cooked well. Once they are cooked well, add in the cardamom powder and then finally the thick coconut milk. After you add the thick milk, do not bring the kheer to a boil. Mix it well. Switch off flame just as it is about to boil.
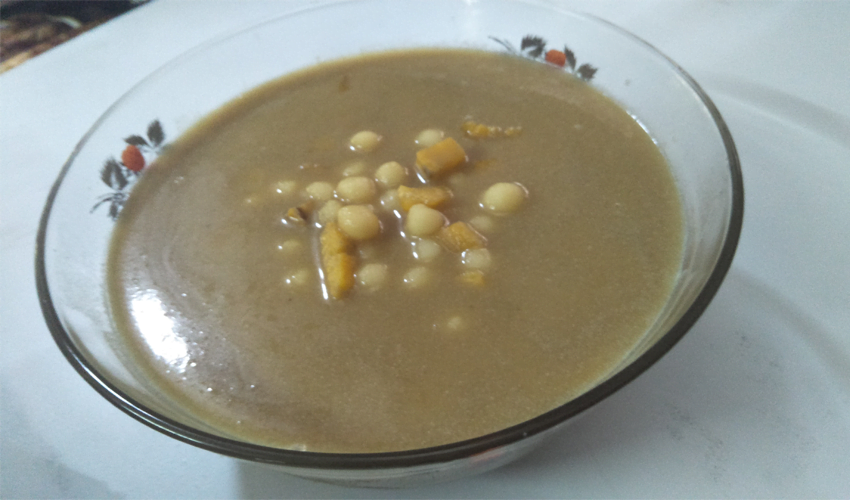
Yummy Rice balls and Banana Payasam made in coconut milk is ready. You can have it hot or chilled and I tell you both tastes yummy.
Serving Size 12
- Amount Per Serving
- % Daily Value *
- Total Fat 14.3g22%
- Saturated Fat 10.7g54%
- Sodium 102mg5%
- Potassium 156mg5%
- Total Carbohydrate 23g8%
- Dietary Fiber 2.7g11%
- Sugars 7.8g
- Protein 2g4%
- Iron 17%
* Percent Daily Values are based on a 2,000 calorie diet. Your daily value may be higher or lower depending on your calorie needs.
Disclaimer : The nutrition facts given in this site is for informational purpose and indicative of the estimated serving sizes. It is only an approximate nutritional value and could change depending on the product types, brands, substitutions and amount of ingredients used.
Ingredients
Directions
Here is a delicious and different payasam or kheer. This special payasam is my all time favourite one and obviously my mom's recipe. I just love the rice balls and banana payasam made in coconut milk. It is not really difficult to make this payasam, except for making the balls, which is a bit time consuming and extracting the coconut milk.
Make sure you keep all the ingredients ready. Extract the coconut milk in three different consistency - as mentioned above in the ingredients. Thick, thin and very thin. You can add enough water to make coconut milk.
Cut the bananas into small pieces and keep aside.
Now, on how to make the rice balls. Take the rice flour in a bowl. Boil 2 cups of water with oil and salt. Pour the boiling water into the rice flour and mix well. Do not use all the water together. You can pour more than half and then little by little to make it into a soft dough. Make sure that you use boiling water to make the dough from the rice flour. Do not keep the water to cool. If the water is cool you will not get the desired texture and taste for the rice balls. You have to make small balls with the rice flour and keep aside. You can apply a little oil on your palms so that the balls do not stick to your hands.
To make the payasam or kheer, bring the third coconut milk to a boil in a heavy bottomed vessel. When it starts boiling, put in the rice balls carefully. Cover and let it boil for 2 minutes. Then add in the grated jaggery to this. Mix well. Cover and cook till the rice balls are more than half cooked.
After that add in the chopped bananas and the second coconut milk. Cover and cook till the bananas are properly cooked. Make sure both the banana and the rice balls are cooked well. Once they are cooked well, add in the cardamom powder and then finally the thick coconut milk. After you add the thick milk, do not bring the kheer to a boil. Mix it well. Switch off flame just as it is about to boil.
Yummy Rice balls and Banana Payasam made in coconut milk is ready. You can have it hot or chilled and I tell you both tastes yummy.
No Comments